Configuring Bitbucket integration
Xapi enables the organization owner and organization admins to configure Bitbucket integration in a project.
To configure an integration:
💡
-
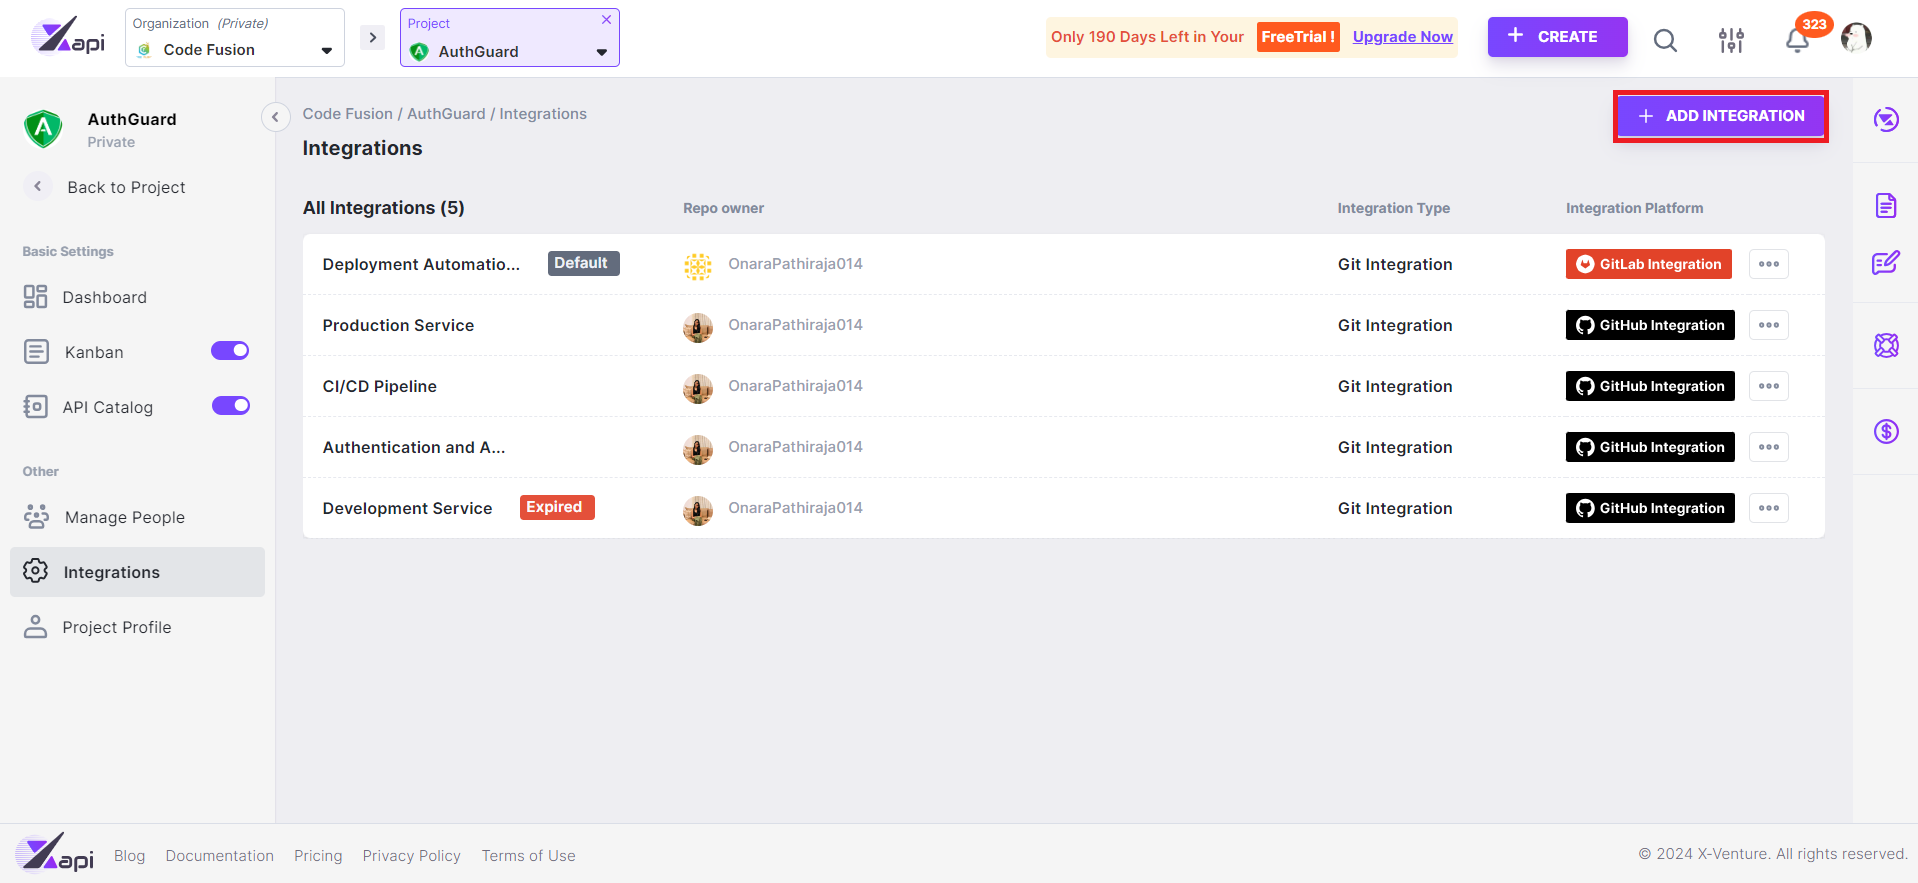
Click ADD INTEGRATION.

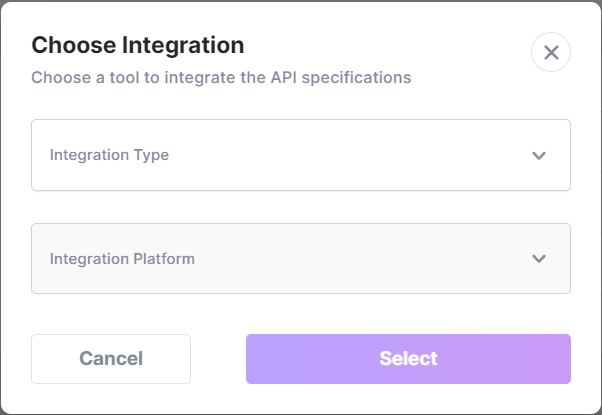
Note that the Choose Integration pop-up will be appeared.

a. On the Integration Type drop-down, click Git Integration.
b. On the Integration Platform drop-down, click Bitbucket Sync.
-
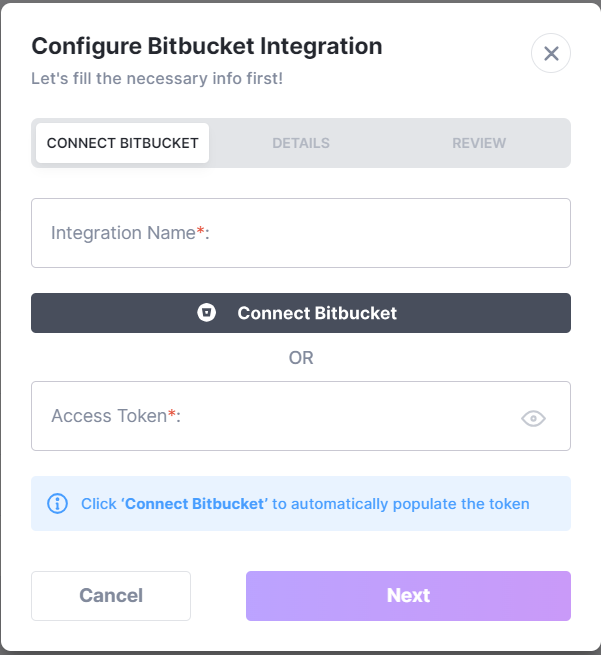
Click Select. Note that the Configure Bitbucket Integration pop-up appears.

-
Under the CONNECT BITBUCKET tab, connect to your Bitbucket account.
📃Note: Fields marked with * are mandatory.
| Field | Description | Sample Value |
|---|---|---|
| Integration Name* | This uniquely identifies the integration. | Production Service |
| Connect Bitbucket or Access Token* | To connect to your Bitbucket account, you may either: ℹ️ To create a Bitbucket workspace access token, see Create a Workspace Access Token (opens in a new tab). |
a. Click Next.
b. Under Details, enter the configuration details as given below.
📃
Note: Fields marked with * are mandatory.
| Feild | Description |
|---|---|
| Repo Owner* | This lists down the repository owners of the connected Bitbucket account. You may select a repository owner from the list. |
| Repository* | This lists down the repositories of the connected Bitbucket account. 📃 Note: The repository must contain at least one file. |
| Branch* | This is to specify the synchronizing branch. You may either: |
| Generate API Code* | This specifies the API specification that you wish to generate, indicating whether global references should be included or excluded. The available file types are as follows: |
| Output Folder Path | This specifies the folder in which your API specification will be generated in the chosen Bitbucket repository when pushing the API. It is relative to the root folder of your repository. If the specified folder does not exist, a new folder will be created based on the given path. 📃 Note: Your path will be seperated by '/'. ℹ️ Your output folder path gets created according to the project catalog path in Xapi. Example: output folder path/catalog/API name/API version |
| Default Integration | This designates the integration as 'default'. If this is selected, when synchronizing to Bitbucket, the API will synchronize with the default integration. ℹ️ If you do not choose a default integration, the system will automatically set the first created integration as the default. |
c. Click Next.
d. Under REVIEW, you may review the entered details.
- Click Integrate. Upon successfully configuring the Bitbucket integration, a success message appears.
💡
What’s Next?
